Home ❯ Knowledge Base ❯ Assembly Manual ❯ COREBOXX Assembly (1/2)
COREBOXX Setup Assembly (1/2)


Introduction
The COREBOXX Setup Assembly is structured as follow:
- Final Rewindr assembly
- Attaching brackets
- Final mounting and tube routing


Step 35
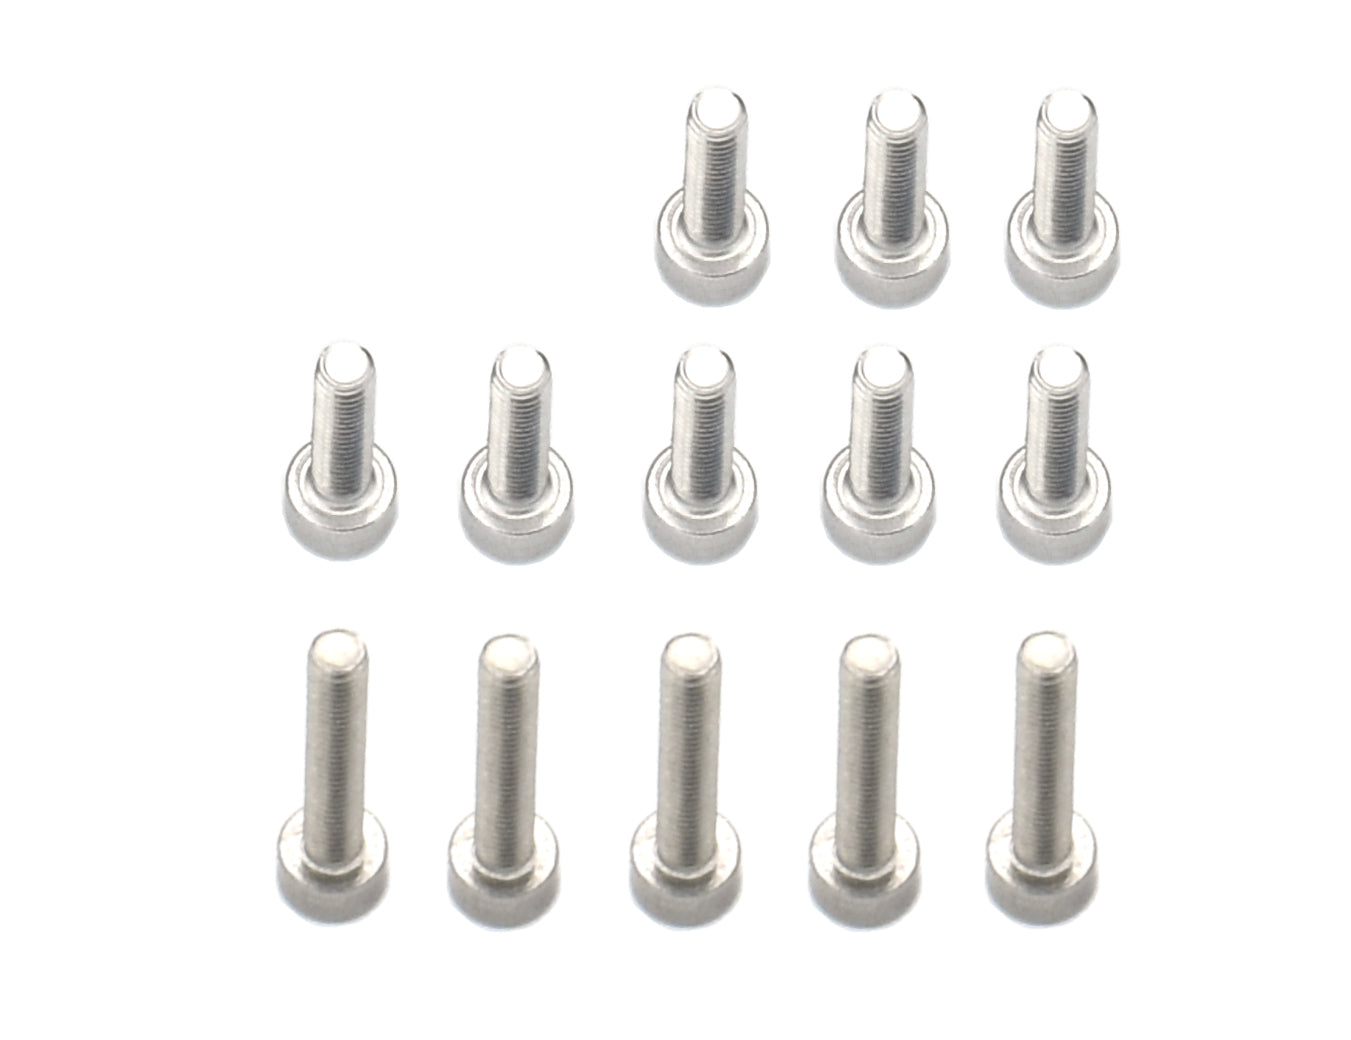
Prepare the following parts:
- M3x20 screw (5x)
- M3x10 screw (10x)
- XXXmm PTFE-tube (1x)
- XXXmm PTFE-tube (1x)
- XXXmm PTFE-tube (1x)
- XXXmm PTFE-tube (1x)
- XXXmm PTFE-tube (1x)
ℹ️ You may need to adjust the tube lengths later.


Step 26
We are going to attach the PTFE-tubes before further assembly.
Each tube length corresponds to a certain PTFE-Guide number:
- XXXmm Tube
- XXXmm Tube
- XXXmm Tube
- XXXmm Tube
- XXXmm Tube
Insert a correct corresponding tube through the bottom hole of one of the modules (see picture). Make sure the tube is pushed all the way in.
Secure the tube in place with a M3x20 screw via the screw hole in the PTFE-Guide.
Repeat these steps for all modules.


Step 27
Let's route the PTFE-tube through the modules. Use the picture as reference.
Push the PTFE-tube through one of the slots in the middle of the module. Continue routing the tube out center-back hole.
Repeat this step for all modules.


Step 28
Prepare the following items:
- R-Side-panel (1x)
- L-Side-panel (1x)


Step 29
Attach the R-Side-panel on the right side of module numbered 1.
Repeat this with module 5, attaching the L-Side-panel on the left side..


Step 30
Prepare the following items:
- R-Bracket (1x)
- L-Bracket (1x)
- PTFE-clamp (1x)
- M3 hex nut (4x)
- M3x10 screw (4x)


Step 31
Insert two nuts into each bracket like the picture.


Step 32
Place the brackets inside the COREBOXX, aligning the bracket screw holes with the ones on the bottom panel.


Step 32
Secure the brackets in place with four M3x10 screws from underneath.


Step 32
Snap module number 5 onto the leftmost spot of the L-Bracket.
Repeat this for the rest of the modules, attaching them in descending module number.


Step 33
Insert the PTFE-tubes into the MMU according to the corresponding MMU filament-number.
Continue to COREBOXX Setup Assembly (2/2)
